Step 5 - Gather the Analyses Results into SonarQube and review them
Once the Static Analyzers have finished their analysis and their results have been post-processed

the analysis results are available in the following directories:
- pclint-reports (if PC-Lint Plus was activated in the project file);
- cppcheck-reports (if "Cppcheck" was activated in the project file);
- clangsa (if "Clang-SA" was activated in the project file);
- clangtidy-reports (if "Clang-Tidy" was activated in the project file);
- comp-reports (if "COMP" - e.g. "GCC" was activated in the project file).
The results are either in "*.xml" or "*.txt" format and it is very difficult to assess them in these formats.
It is much more effective to see, to assess the issues/problems from within the source code, close to the lines where they actually manifested.
In order to do that we need to run SonarQube analysis. Supposing the SAFacilitator project file has the proper information about SonarQube, that is:
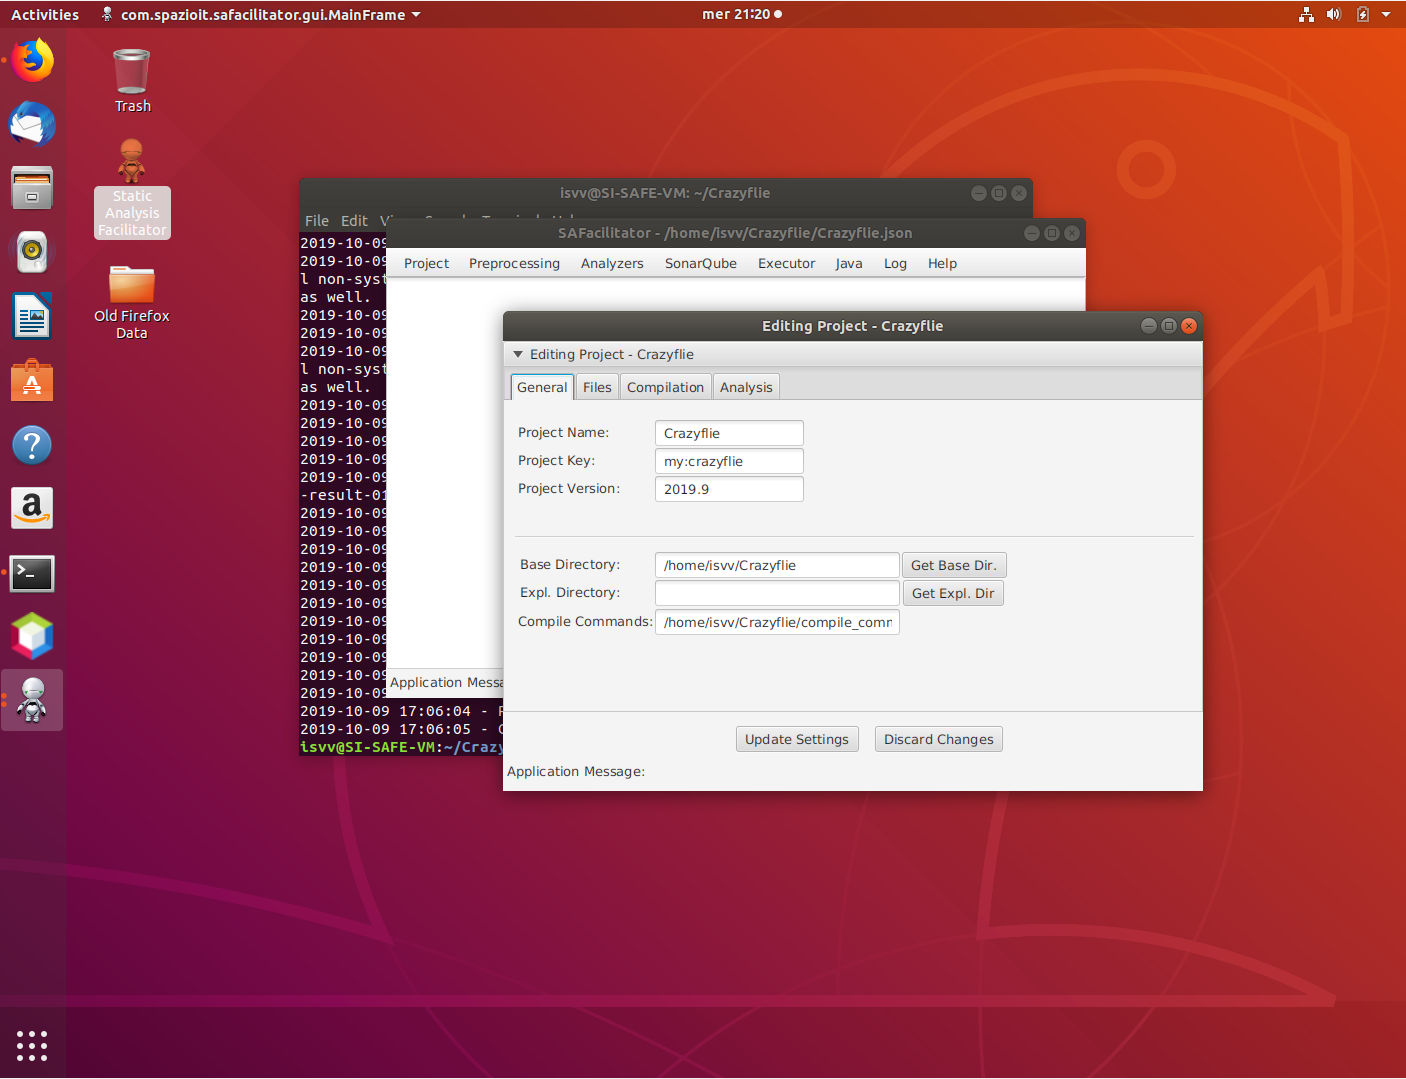
The information required to identify the Project with the SonarQube Server:
- Project Name;
- Project Key;
- Project Versions.
and
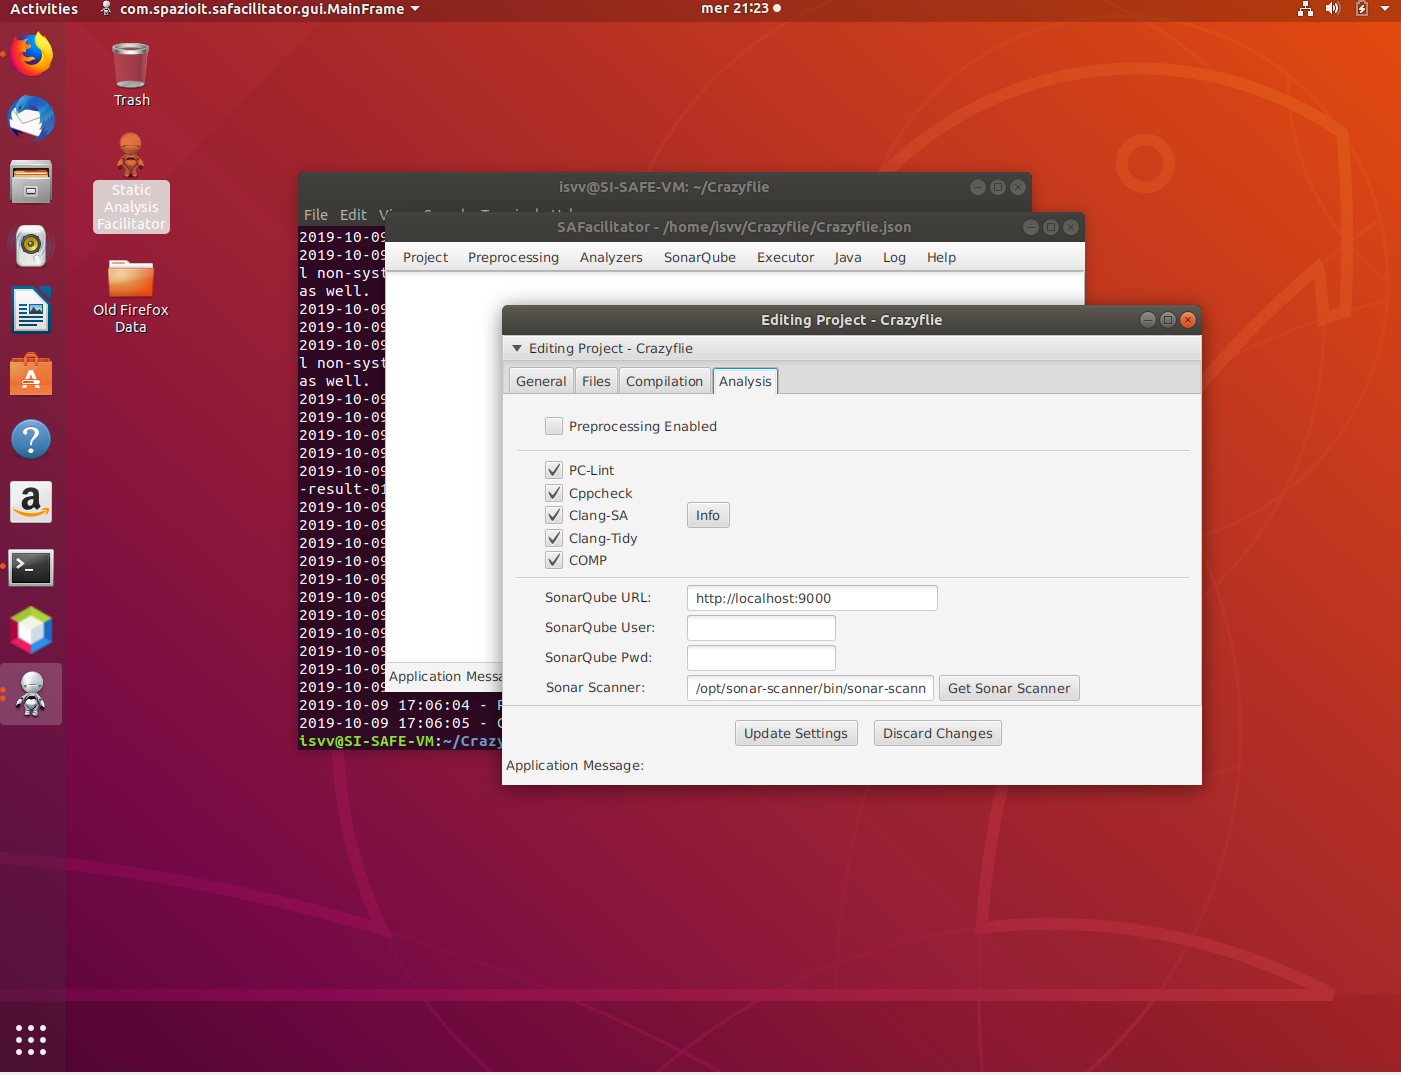
The information required to identify the SonarQube Server itself:
- SonarQube URL: required:
- SonarQube User: optional;
- SonarQube Pwd: optional;
- SonarScanner: required.
If all information has been provided properly, then we can issue the command
safacilitator -l Crazyflie.json -psq -rss
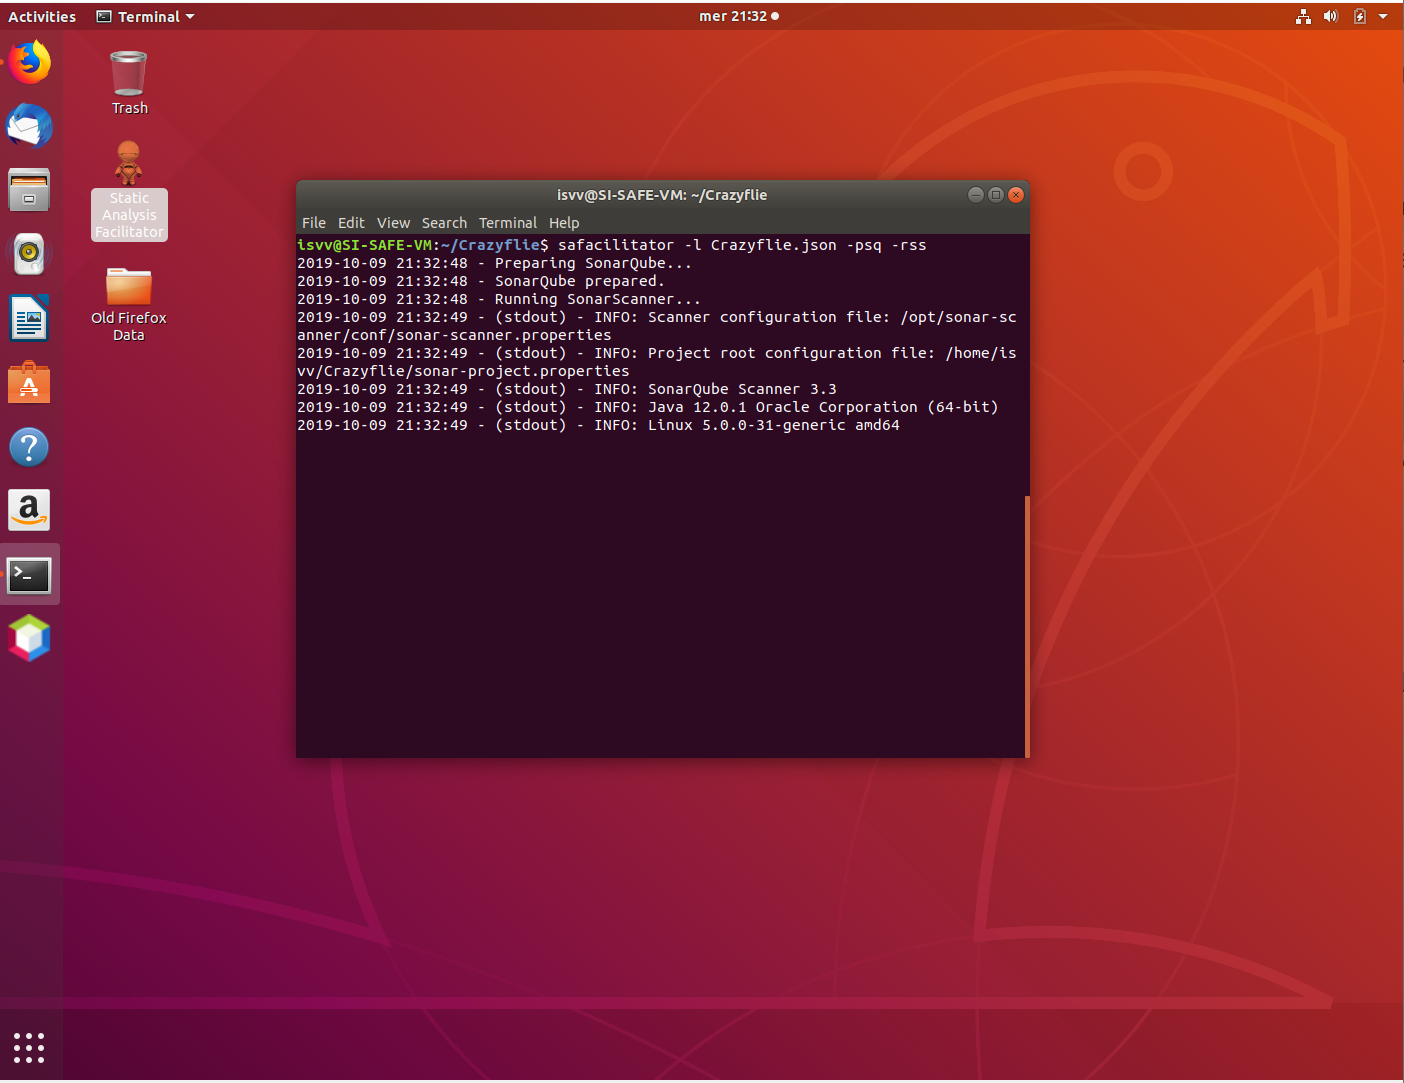
that will launch the "SonarScanner" utility and integrate the analysis results into SonarQube.
If everything goes ok, you can open the browser at "http://localhost:9000" and inspect the newly analyzed project.
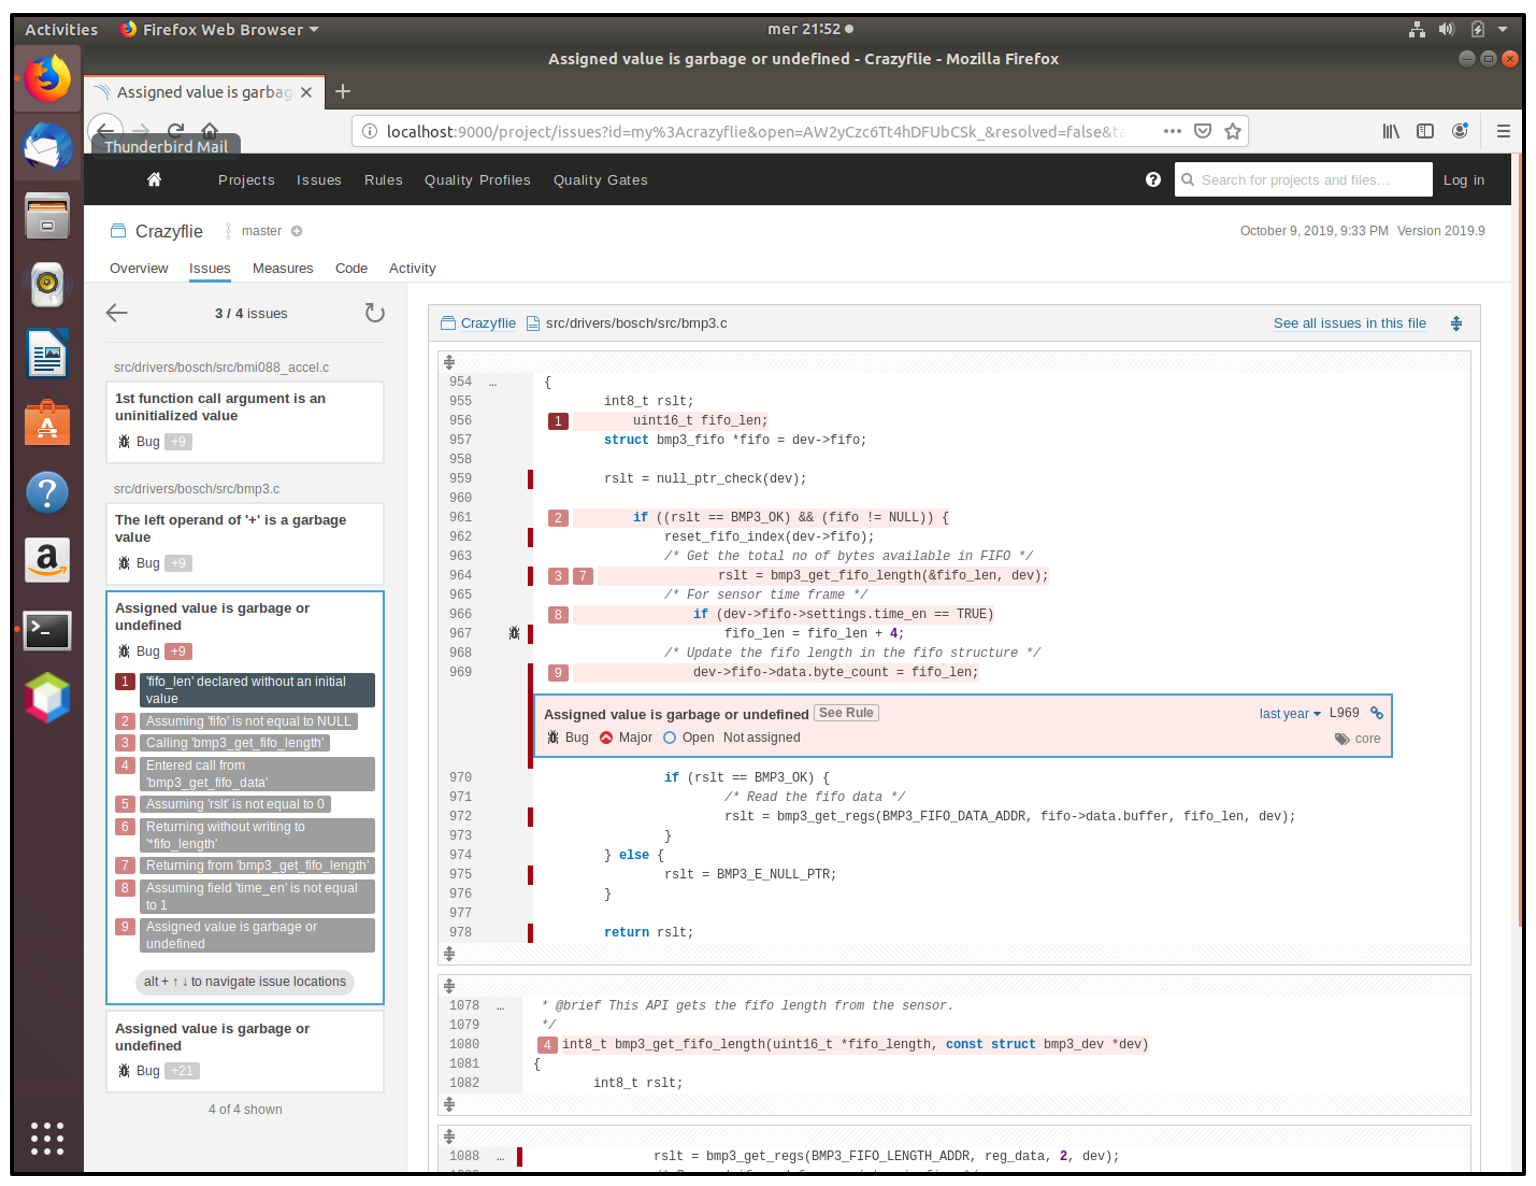
As you can see, after the SonarQube analysis phase, it is possible to asses the analyses results, the found issues from within the source code itself.
Now the real work begins as it is necessary to distinguish the real issues from "false positives". Only people with a proper experience in:
- the programming language
- the application domain
- the used frameworks and libraries
can properly perform this distinction.
A proper/wise Configuration of the Static Analyzers and a proper/wise Configuration of the selected SonarQube Quality Profile help in reducing the numbers of "false positives".
This is a video tutorial showing this step.